How to Create Digital Products in Canva
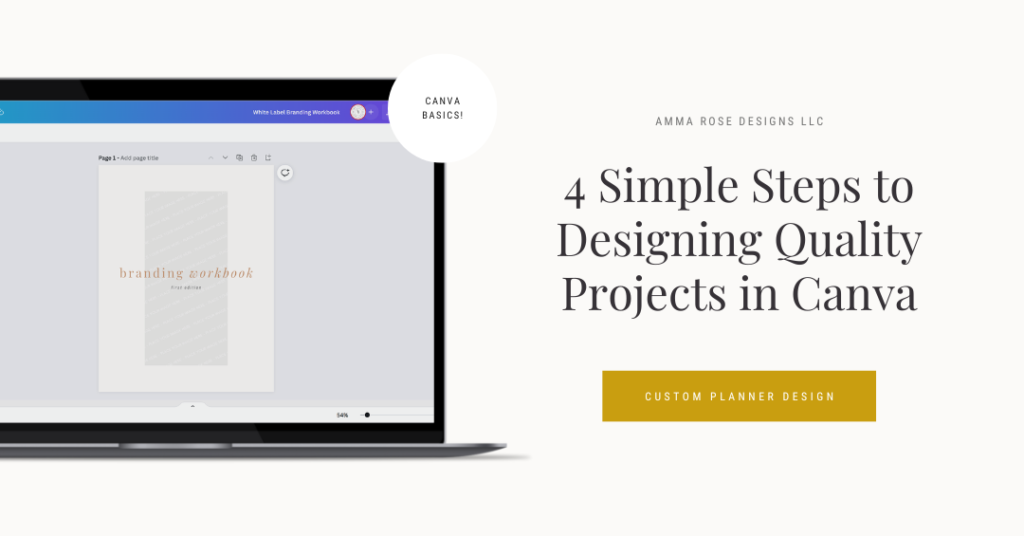
As an online digital product seller, one of the top tools I recommend to my students is definitely Canva, which is a super easy-to-use graphic design software online. It helps beginners who aren’t as comfortable with graphic design, create visuals without all of those confusing elements that you can find in other softwares, such as Photoshop.
It allows you to make professional-looking images and animations for social media, presentations, posters, and more using customizable templates.
Canva has a super quick learning curve and I believe that just about anyone can get the hang of it in less than a weekend, and start creating some quality designs in no time!

Free vs. Paid Members
To start designing on Canva, you need to create an account using an email address and a password.
There is a free version and a paid version of Canva.
I’ve been using Canva for over 4 years now, and it’s an incredible platform that has transformed my design skills. Still, in the beginning, I agonized over whether or not to continue using the free version, or to invest in a paid membership before taking the plunge. To help you decide, I’ve laid out everything you need to know in the following table!
Free Canva Members
Canva is free to use for everyone! You don’t need any graphic design experience to benefit from this platform. It’s all templates and drag-and-drop functionality.
- 250,000+ free templates
- 100+ design types (social media posts, presentations, letters, and more)
- Thousands of free photos and graphics
- Invite members to your team
- Collaborate and comment in real-time
- 5GB of cloud storage
Pro Canva Members
If you want even more features, you can pay for Canva Pro, which is a subscription service ($12.99/month) that’s aimed at social media managers or small business owners.
- Everything Free has, plus:
- 75+ million premium stock photos, videos, audio and graphics
- 420,000+ free templates with new designs daily
- Create 1 Brand Kit and upload your own fonts and logos
- Unlimited use of Background Remover
- Resize designs infinitely with Magic Resize
- Save designs as templates for your team to use
- 100GB of cloud storage
- Schedule social media content to 8 platforms
Whatever you decide, there will be tons of options for you to make the most out of your Canva experience.
Once you’ve made your decision and have signed up for Canva, now it’s time to start your project!
Starting a Canva Project
Now that you have your account up and running, let’s start by creating a new project.
There are multiple ways to get started on designing a project on Canva:
Choose Your Design Type
The first way you can begin a project is by utilizing the various design types that Canva has to offer.
To browse through these design types, you can scroll through the top collection, which you can find on your homepage, and depending on what you are looking to design, you can click on it and it will open a blank Canvas with the appropriate dimensions for you to begin the process of designing.
Choose From Canva Templates
Another route would be to type in what you’re looking to design.
For example, if you want to design a Social Media Post, you would simply type that in the search bar, and you’ll be provided with a ton of done-for-you templates that have already been designed.
After selecting your template of choice, you would just have to go in and change the text, fonts, colors, etc.
Create Your Own Dimensions
Finally, you can also begin a project by clicking “Create a Design” in the upper right-hand corner of your screen, and again, you’ll have the ability to browse through those different design types templates, or you can type in your own dimensions.
Designing in Canva
Now that we’ve decided on what exactly we’re creating and we have our blank canvas up, we can dive into the basics of Canva and complete our design.
To begin, there is a menu on the left-hand side, a basic menu up at the top with access to your File information and download button, and if you click on any element within the canvas, another menu will pop up at the top.
Step One: Choose a Background
COLOR BACKGROUND
One of the first steps to designing anything from scratch is creating a background. So if we click on our blank canvas, a color wheel will pop up in the top menu, where we can change the background to any color we want.
Of course, you can also choose to add an image to your background.
IMAGE BACKGROUND
To get an image background, go to the “Elements” tab, scroll down until you find “Grids”. Select the solid square grid, and it will automatically display in your blank canvas.
This is acting as a placeholder for whatever image you want to drag and put in its place.
To get your images, you can either go to “Uploads” or browse through the stock photos that Canva gives you access to.
Getting Images from “Uploads”
To get images that you’ve uploaded yourself, click on “Upload”, then click on “Upload Media”, and select the image file from your computer. Once it’s done uploading on Canva, it will show up in your library with the rest of your uploads.
To get your image from your library to the grid placeholder, you can’t just click the image. If you simply click on your desired image, Canva doesn’t know where you want it to go, so it’s going to show up in the middle of your workspace.
To get your image to a specific grid, click, hold, and drag your image to your canvas and your image will pop up within this grid. If the positioning is a little off, just double click the image, and you can drag the image to a position that looks the best for you.
The same goes for any stock photos you find under the “Photo” tab.
Getting Images from Canva “Photos”
Canva has thousands of stock photos that both Free and Pro members can utilize inside of their designs.
Browse through this vast collection of images, searching for anything specific if need be, and select the perfect image for your design.
If you simply click on your desired stock photo, it will just pop up in the middle of the canvas. Again, you’ll want to click, drag and drop into the grid placeholder, and now you have your background.
You can move this grid around, if you like. You can scale it down to only take up half of your canvas if you want a picture on one side and text on the other.
If we click back over to our “Elements” tab and scroll down to Grids again, you’ll see that you can even have multiple grids to display multiple images.
It all depends on what you have in mind!
Step Two: Add Text to Your Design
To add text to your canvas, you can either select the “Heading”, “Subheading”, or “Paragraph” text boxes, and they will automatically pop up on your canvas. Or, you can choose from the various font combinations that Canva provides.
To edit and change the text placeholders, you’ll just want to click on the text box once to highlight it, and then click again so you can see your blinking cursor.
You’ll now be able to type anything you desire within this text box and drag this text box anywhere on our canvas.
You can adjust the width of the box by simply dragging the sides of your text box until your text spreads out to your desired width.
To edit the text even further, in the top menu, you can adjust the font by browsing through thousands of Canvas fonts.
As you can see, the fonts with the crown next to them are “Pro” fonts, meaning if you have a free version, you will have to pay a fee if you want to use this font for your designs. As a “Pro” member, you can use it for free.
With that being said, the font selection for Free Members is still extremely impressive and you shouldn’t have any issues finding the perfect pair of fonts of all kinds to use in your design. And of course, if you are a “Pro” Member, then you have the ability to upload your own fonts to use, as well.
Moving on, you can also adjust the font size, the color of the text, if you want the text bold or italicized, the alignment of your text, if you need a bulleted or numbered list, the line and letter spacing, any effects you want your text to have, and if you want your text to be animated.
Of course, you also have the standard features, which include the position, transparency, links, locking features, duplicating, and deleting.
Step Three: Add Elements to Your Designs
Design elements in Canva include icons, photos, graphics, shapes, videos, frames, grids, and illustrations. These elements are extremely important for your project to not only become visually appealing, but also to add a purpose to your designs.
This can include adding a Call-to-Action button, an arrow to redirect your audience eyes, flashing graphics to gain attention. The sky is the limit to your design elements to help fill in the negative space and increase the functionality of your project.
You can search for pretty much any and everything in this tab to add to your designs.
For example, let’s say we want to add a graphic of a light bulb to your design. You would simply type in “light bulb” in the search bar, and hundreds of options will pop up.
Here is where you’ll really want to pay attention if you have a free account, because some of these elements are consider “Pro”, meaning that they are free to use for “Pro” members, but if you want to use them under a Free account, you’ll have to pay for them after you download your designs.
To know if an element is “Pro” or not, just hover your mouse over the element in question, and in the lower right-hand corner you’ll see either a crown with the word “Pro” next to it, or you’ll see “Free”.
You can also filter this out by clicking on the sorting button, and you can tell Canva to only show you “Free” elements, only “Pro” elements, or both. And of course, you can also filter to whether or not you want them to display Static elements, so graphics that stand still, animated graphics, the sizing you’re looking for, and also the color.
Bonus: Editing Images
To edit any image you add to your canvas, you can select either “Effects”, “Filter”, or “Adjust”.
The “Effects” option gives you the ability to add things to our image such as pixelating it or giving it a glitch effect.
The “Filter” option has presets you can choose from such as Greyscale or Retro.
And the “Adjust” option allows you to play around with the photo editing itself.
You can play around with all of these settings to see which you like the best. These settings, of course, will differ depending on the project you’re designing.
To go over the rest of this top menu for images, you can also:
- “Crop” your image
- “Flip” your image horizontally or vertically
- if you’re planning on creating a video or a gif, you have the option to “Animate” your image if you want it to move around
- “Position” your image so it sits in front or behind other text and elements in your canvas
- “Link” to a URL
- “Lock” your image if you don’t want it moving around after you have it in place
- “Duplicate” your image
- “Delete” your image and/or grid
Step Four: Download Your Project
So, we’re all done with designing our brand new project, it looks great and it’s time to download it and put it to use.
To download, head up to the upper right-hand corner of your screen and hit “Download”. In the drop down box, depending on what you’re creating, you will determine what type of file you need.
Then, select which page we want to download and then hit “Download”.
And that’s it! It’s as easy as that.

Designing Digital Products in Canva
Utilizing the following steps will get you on the right track to confidently tackle Canva on your next design project.
Don’t forget to check out our free e-book, “How to Sell Digital Products Online Successfully” to discover repeatable and predictable stratgies to successfully selling digital products online to earn passive income.