Boost Your Showit Site: A Comprehensive Guide to E-Commerce Integrations
Hey there, friend! Have you heard about Showit? It’s a total game-changer for creatives like us.
Its super user-friendly drag-and-drop feature makes designing a website as easy as pie. But here’s the thing – it doesn’t have built-in e-commerce support (bummer, right?).
No worries though, because we’ve got a ton of solid alternatives. We can turn to platforms like Shopify, SendOwl, and ShopRocket. They’re all awesome in their own ways and can easily sync with your Showit site.
So, buckle up! Together, we’re going to dive deep into each of these platforms and find the perfect fit for your unique business. Let’s get started!
Understanding the Need for E-commerce Integration
In today’s digital age, e-commerce is a massive game changer. Picture this – a customer loves your content, clicks a product you’ve featured, and bam! They’re shopping on your website within seconds. Neat, right? That’s e-commerce for you.
But why e-commerce for Showit? Well, with all the stunning visuals and engaging content you’ve got on your Showit site, adding an online store can seriously boost your game. It can transform your site from a pretty portfolio to a revenue-generating machine. Imagine making money while you sleep – that’s the power of e-commerce!
And here’s the best part: e-commerce isn’t just for physical products. Are you a photographer? Sell your prints online. A designer? Sell your graphics. A consultant? Sell your services. A blogger? Sell digital products like ebooks or courses. The possibilities are endless.
I know it sounds a bit daunting, but trust me, you’ve got this. With a little bit of patience, and the right tools, you’ll have an amazing online store up and running in no time.
Related Post: 4 Reasons You Need a Passive Income Stream
Integrating Shopify into Showit
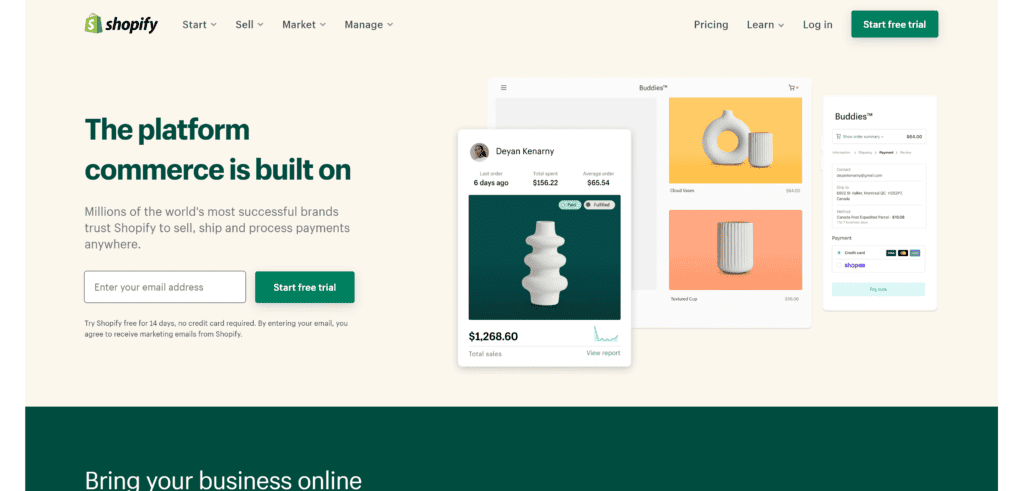
Firstly, let’s introduce Shopify Starter Plan. This tool allows users to sell products directly on their Showit website with the use of creating product links which you can share. Interestingly, a full Shopify store isn’t required to use this function.
Firstly, to sign up for Shopify Starter Plan, go ahead and head over to the Shopify website and look for the ‘Pricing’ tab. Scroll down until you see ‘Shopify Starter Plan’ and then hit ‘Explore Starter’ to start a free trail. You’ll be prompted to enter your email address, password, and store name. Don’t sweat too much over the store name, it won’t be public.
Once you’ve filled in the details, you’ll be taken to a page where you need to enter some more information about yourself and your business. After that’s done, voila! You’re the proud owner of a shiny new Shopify account. Now let’s get down to adding your products.
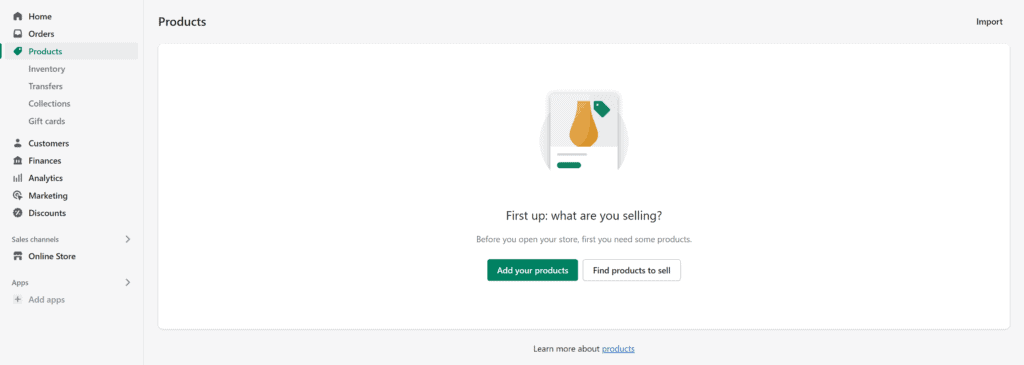
Once you’re inside your Shopify dashboard, head over to the ‘Products’ tab on the left and click ‘Add product.’ This is where you’ll be listing what you’re selling.
Use the following screen to add as much detail as needed about your products. Especially look at those that will help with SEO such as name, description, and URL. Include as many details as possible to help inform the customers about your items.
This is the screen where you upload product pictures. Once the images are uploaded, you can rearrange them so don’t worry about uploading them in any particular order.
Product images can make or break a sale, so make sure you show your products off to their best and highlight any special or unique features with quality photos or mockups. To keep your store looking tidy, we suggest you keep all images in the same dimensions.
Once everything is filled out, always remember to click the “Save product” button in the top and bottom right corners.
After you’ve listed your products, it’s time to create your Buy Button. Navigate to ‘Sales Channels’ and click on ‘+.’ From the list that pops up, select ‘Buy Button.’ Shopify will then guide you through creating a Buy Button for each product. You can customize the button to suit the aesthetic of your Showit site, so don’t be afraid to get creative!
When your Buy Button is ready, Shopify will generate a code for you. This code is what you’ll be embedding into your Showit site.
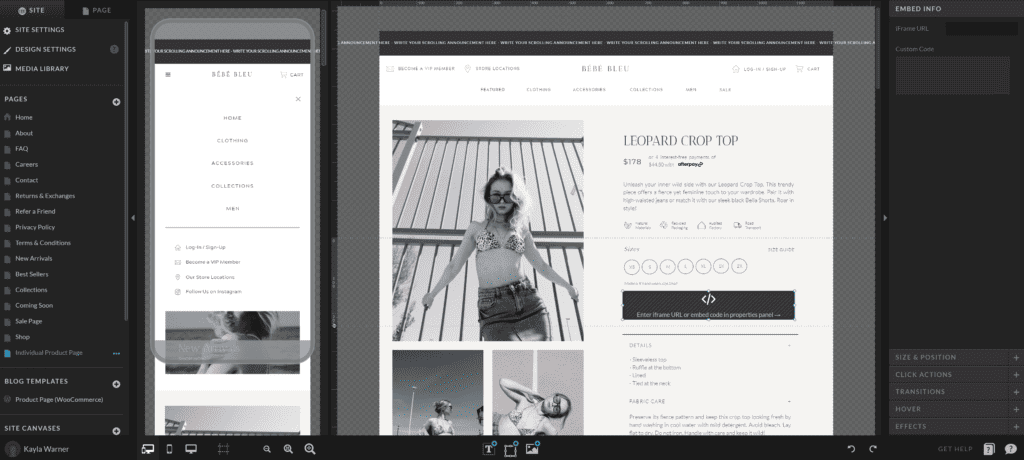
Now, navigate to their Showit editor, choose the desired location for the button, and insert an ‘Embed Code’ box. After pasting the generated Shopify Buy Button code and clicking ‘Publish’, a new Buy Button will appear on the Showit site. It’s a straightforward and effective process for integrating e-commerce functionality into Showit.
Pros:
- Ease of Use: Shopify is incredibly user-friendly, making it a great choice for those who are new to e-commerce or want a simple solution. You can easily set up a “Buy Button” and embed it into your Showit site.
- Affordability: At $5 per month, Shopify Starter Plan is a cost-effective way to add e-commerce functionality to your Showit website without breaking the bank.
- Access to Shopify’s Features: Despite being a starter version, you’ll have access to key features of Shopify’s platform, including the use of the Shopify payments system, the ability to sell on social media platforms, and access to Shopify’s 24/7 customer support.
- Completely Custom Website: The benefits of utilizing Showit with your Shopify Starter account is that you can 100% customize your website with Showit’s drag and drop features. Shopify’s website templates aren’t a truly drag and drop, and while they’re easy to use and offers a lot of flexibility, it does have its limitations.
Cons:
- Limited Features: As a pared-down version of Shopify, the starter plan lacks some of the features available in more expensive plans. For example, you won’t get a standalone online store, and some advanced sales features and analytics might not be available.
- Dependence on Showit for Site Design: While Shopify’s full plans allow for a complete online store, the Lite plan relies on your existing Showit design. If you want a fully integrated, single-platform solution, Shopify Starter Plan might not be the best fit.
- Transaction Fees: While Shopify itself is affordable, remember that Shopify charges a transaction fee for every sale (unless you’re using Shopify Payments). This can add up over time, so it’s crucial to factor this into your cost analysis.
- Manual Updating: You’ll be repsonsible for manually updating photos, product descriptions, product variations, etc. on your Showit website. The more products you have or if you change your products frequently, the more tedious this could be in the future.
Selling with SendOwl on Showit
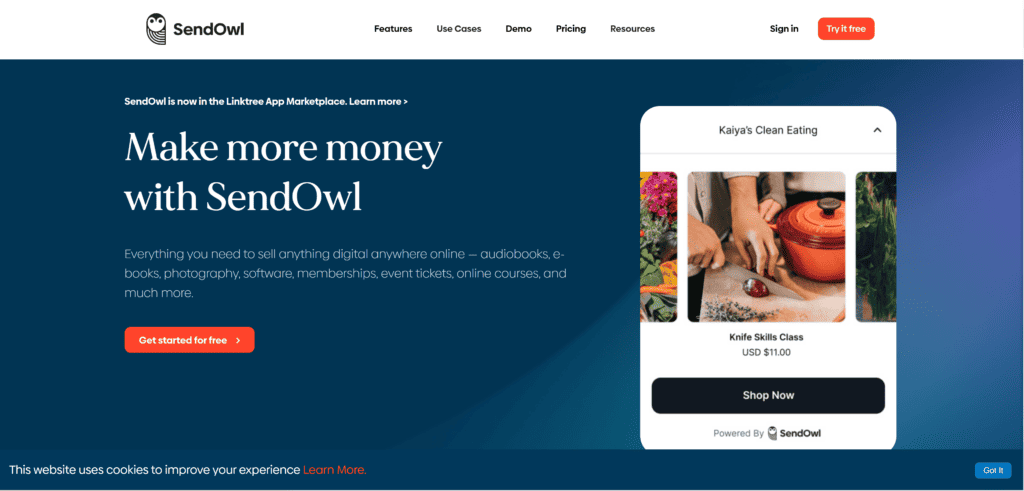
Now,let’s chat about SendOwl. SendOwl a platform that’s specifically designed for selling digital products, services, and even subscriptions. If you’ve got digital goodies to sell – say, ebooks, courses, or exclusive subscription content – SendOwl might be your new best friend.
First off, head over to the SendOwl website and sign up for an account. You can choose from a variety of plans, so pick the one that best suits your needs and budget. Remember, the best part about being an entrepreneur is the freedom to change and adapt as you grow. So, don’t stress if you’re not sure which plan to choose – you can always upgrade or downgrade later.
Once your account is all set up, it’s time to start adding your digital goodies. Click on ‘Add a Product’ and follow the prompts. You can choose whether you’re selling a digital product, a service, or a subscription. Give your product a catchy name, set your price, and upload your product file (if applicable). A fun fact about SendOwl – it supports a vast array of file types, so whether you’re selling an eBook, a software product, or a video course, SendOwl has got you covered.
Next up, it’s time to make your product look irresistible! Upload a captivating product image, write a persuasive description, and set your preferences for things like how many times a customer can download the file.
Once your product is ready to wow the world, click on ‘Save’. Voila! You’ve just created your first SendOwl product. Each product you add to SendOwl generates a unique ‘Buy Now’ or ‘Add to Cart’ link or button that you can embed into your Showit site.
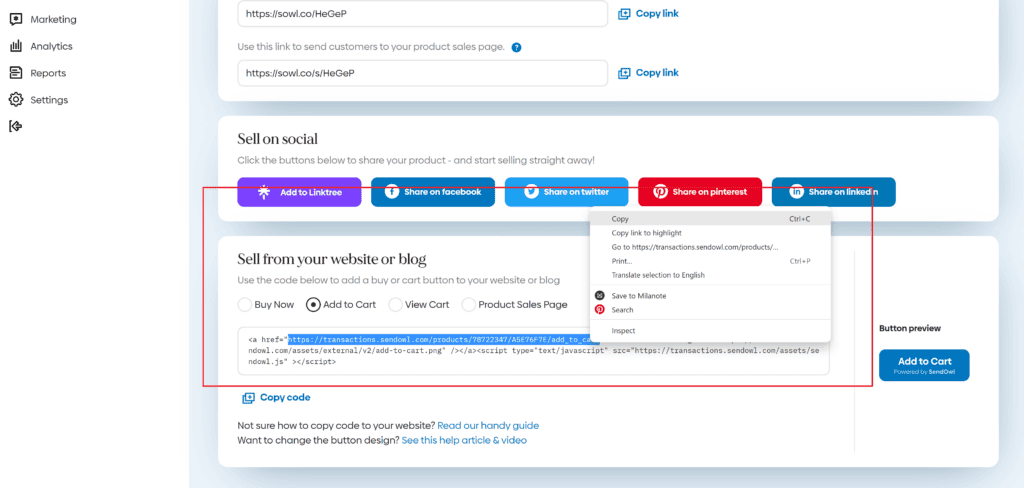
Though you can embed a ‘Buy Now’ button directly on Showit, I prefer to create my own button on Showit utilizing a rectangle and some text. Then, on SendOwl, I’ll select either “Buy Now” or “Add to Cart”, and then highlight the link within the snippet code they provide.
Next, I’ll highlight the button I created on Showit, and under “Click Actions”, I’ll simply paste in that link as a URL. Once that link is clicked, your customer will automatically directed to the checkout process via SendOwl. This is a great way to have more creative control over your design while still benefiting from SendOwl’s platform!
Pros:
- Focused on Digital Goods: SendOwl is specifically designed to handle digital products, services, and subscriptions, making it ideal for those who aren’t selling physical products.
- Easy Integration: The ‘Buy Now’ link or button can be quickly and easily added to your Showit website.
- Support for Various File Types: SendOwl supports a broad range of file types, making it a versatile platform for different kinds of digital goods.
- Payment Options: SendOwl supports a variety of payment processors, which can make transactions smoother for your customers.
- Drip Functionality: If you sell subscriptions or courses, SendOwl lets you drip content over time, improving the customer experience.
Cons:
- Limited for Physical Goods: While SendOwl can handle physical products, it’s not its core strength. If your primary business is selling physical goods, you might find platforms like Shopify Lite or ShopRocket more suited to your needs.
- No Built-in Marketing Tools: Unlike some other e-commerce platforms, SendOwl doesn’t have built-in marketing tools. You’ll have to rely on external solutions for things like email marketing or customer retargeting.
- Aesthetic Limitations: The ‘Buy Now’ buttons and checkout process have a standardized design. If you want a fully customized checkout experience, you might find some limitations here.
- Manual Updating: Similar to Shopify, you’ll be repsonsible for manually updating photos, product descriptions, product variations, etc. on your Showit website. The more products you have or if you change your products frequently, the more tedious this could be in the future.
Using ShopRocket for Showit E-commerce
So you’ve been exploring all these fabulous options to kick your Showit website up a notch with e-commerce functionality. And now, we’re going to chat about another potential player in your team: ShopRocket.
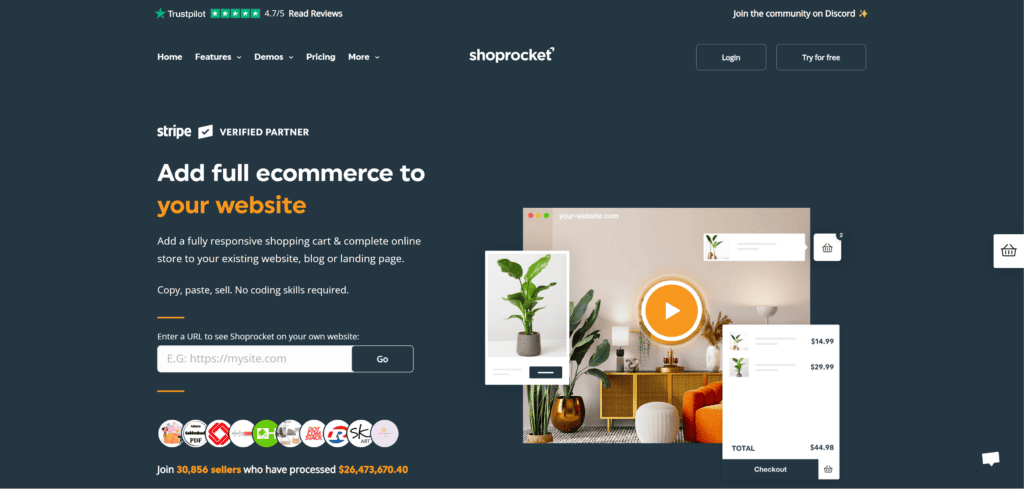
For those unfamiliar, ShopRocket is an intuitive e-commerce platform that enables you to sell products directly from your existing website, sidestepping complex technical hurdles and jargon in favor of a simplified selling process.
Integrating ShopRocket into your Showit website is incredibly straightforward. Begin by heading over to the ShopRocket website and signing up. Click on ‘Get Started for Free’, fill in your details, and voila! You’ve got your very own ShopRocket account. Trust me; it’s as easy as it sounds!
Now that you’re a part of the ShopRocket family, it’s time to introduce your products. Go to your dashboard, click on ‘Products’, and then ‘Add New Product.’ Fill in all the necessary information about your product. You know, things like its name, price, description, and don’t forget to upload some enticing photos!
Once you’ve added all your products, each one will generate a unique code snippet. This snippet is like a passport for your products, letting them travel all the way from ShopRocket to your Showit website.
Okay, now comes the part where we bring everything together. Open up your Showit website editor. Pick where you want your ShopRocket product to appear, add an ‘Embed Code’ box, and paste the code snippet into it. Click ‘Publish’, and just like that, your product is now live and ready to be admired and bought by your visitors.
Pros:
- All-in-one solution: ShopRocket allows for the sale of physical and digital goods, as well as services and subscriptions. This makes it a flexible solution for a variety of business types.
- Automatically Updates: Unlike Shopify and SendOwl, since your product is directly embedded onto your website via ShopRocket, if you make any changes to your product on the backend (photos, pricing, etc.), it will automatically update on the frontend of your website.
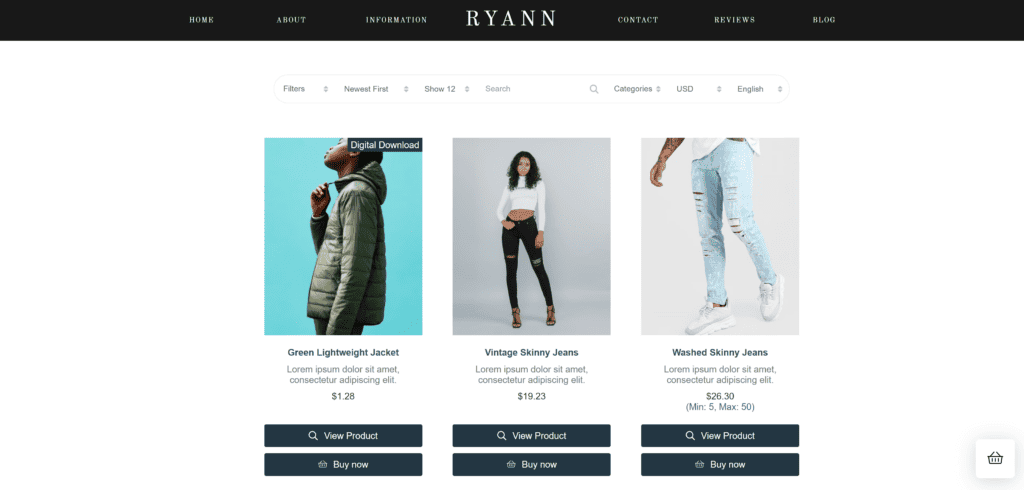
- Sorting Capabilities: The cool thing about ShopRocket is that you can utilize sorting and filter capabilities within your shop, which is a limitation for other platforms such as Shopify Starter Plan and SendOwl.
Cons:
- Limited customization: While the simplicity of ShopRocket is a plus, it also means there’s less room for customization compared to some other platforms. This means, if ShopRocket’s branding doesn’t match your beautifully designed Showit site, it might look a little off.
- SEO Limitations: It seems as though ShopRocket has a lack of SEO features for product and category pages, which could make ranking your store in search engines a little more challenging.
Note: ShopRocket reached out and mentioned that they inject content directly into your page at runtime, as well as updates the page title tags automatically when a customer views a product.
Final Thoughts: Making E-commerce Work for You on Showit
And that’s a wrap, friends! We’ve delved into the world of Showit and its e-commerce associates – Shopify, SendOwl, and ShopRocket. Each one has unique attributes and strengths; however, it’s important to remember that the best choice hinges on your specific needs and objectives.
We value shared learning and collective growth. If you have experiences of integrating e-commerce with Showit, we’d be thrilled to hear about them in the comments below. Your shared insights could potentially guide others navigating a similar path.
Until next time!