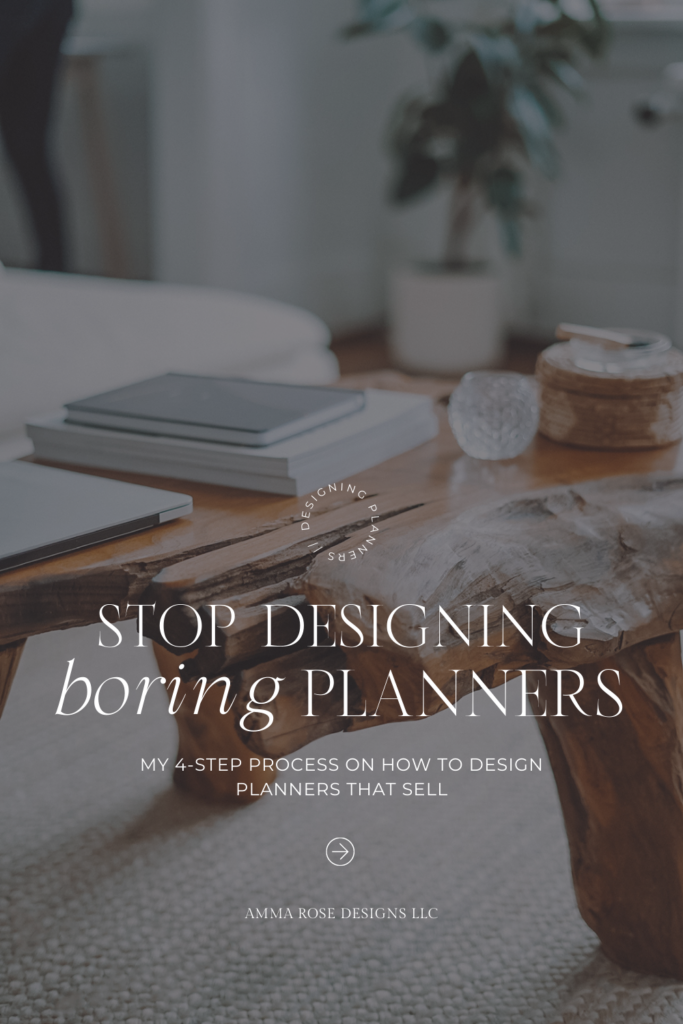
How to Design Printable Planners
When it comes to designing printables, you should strive for a product that is both aesthetically pleasing and functional. Whether you are creating planners for yourself, launching a new business, or adding passive income to your current company, we can help you create the most optimal and efficient design that will make an impact.
Think back to when quality design and functionality came together to produce something amazing – this should be your goal!
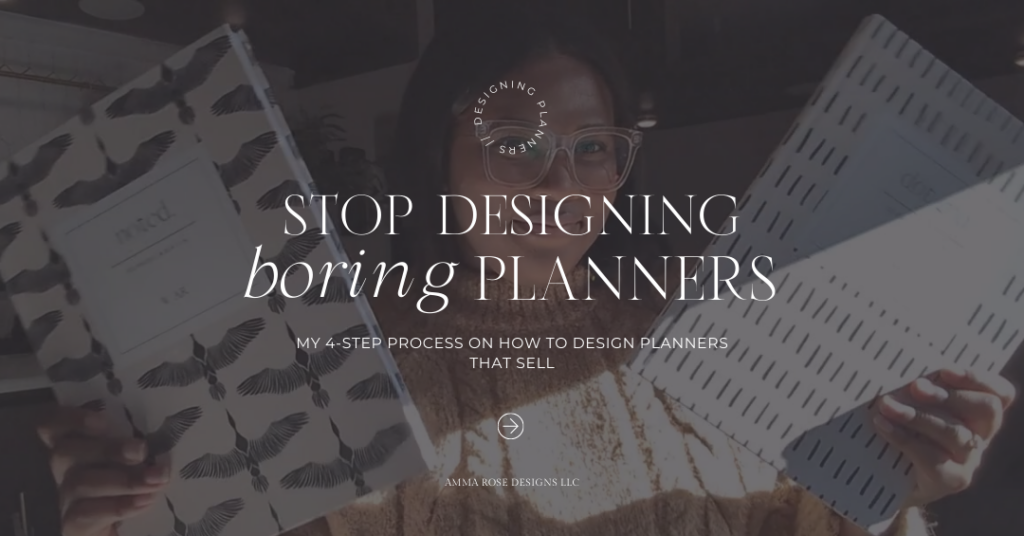
Today, we’re going to be going over the four steps that I take to create beautiful printable planners that solve a problem. This is a great way to make supplemental income or even start a full-time business if you’re willing to put in the work. Plus, it’s an incredibly rewarding experience when someone purchases something you created with your own two hands.
We’ll review each of the steps as a whole, but over the next few weeks, I’ll be expanding on each step with its own separate video, so keep a look out for those moving forward.
DESIGNING PLANNERS SERIES:
- Week One – How to Brainstorm & Research Your Next Planner Idea
- Week Two – How to Outline Your Planner Pages
- Week Three – How to Set Up Your Program Settings to Design a Quality Planner
- Week Four – Tips on How to Design a Quality Planner that Sells
Step One: Brainstorm & Research
The first step to designing a planner actually has nothing to do with design at all. To start, you want to sit down and do some research on the topic that you’d like your planner to be about. Think about the problems that you want your planner to solve and how your printable can be the solution.
With this step, you can do everything on paper, or you can utilize a program such as Milanote to keep your research and brainstorms in one place.
Be sure to take note of the pages you want to include in your printable, as well as a moodboard so you know how your printable should look once you begin the process of designing.
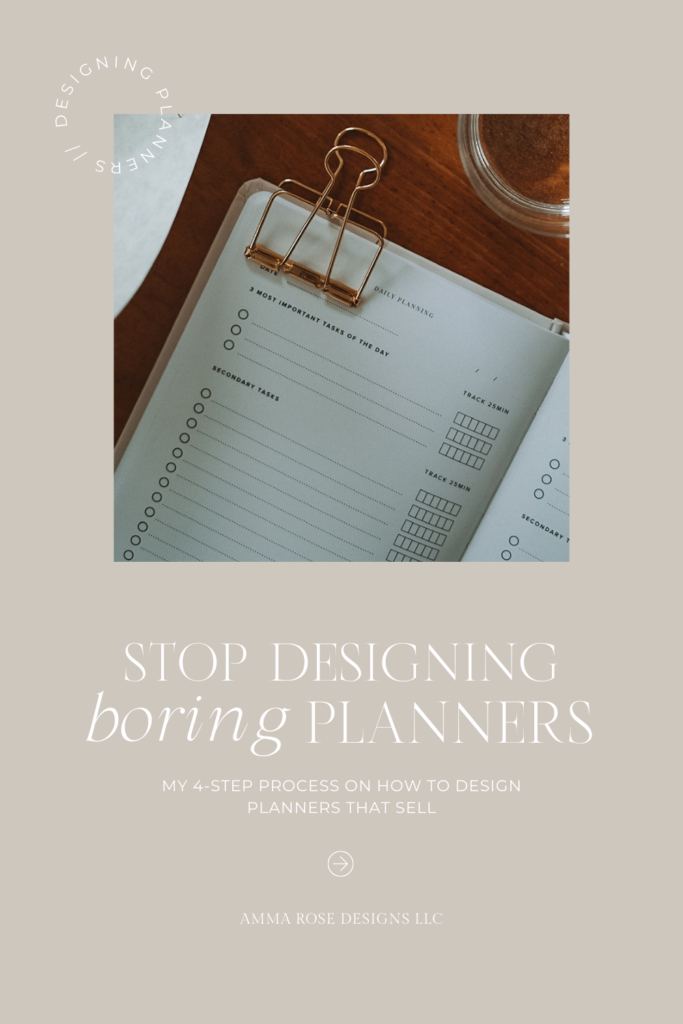
Step Two: Outline Your Planner Pages
Next, you should sit down and begin outlining your planner pages. I recommend outlining your pages on paper before you even open your design software because it’ll be easier for you to work out the formatting and layouts of each page first, and then worry about design later.
I do this with my Dot Grid notebook, but you can accomplish this step on notebook paper, computer paper, or your napkin at dinner. It’s just important that you map out your designs to keep your process streamlined.
Step Three: Set Up Your Design Program Settings
Moving on, now that you’ve done your research and completed your outlines, let’s open up our design software of choice and set up our documents with the appropriate settings.
You want to think about what you want your margins to be, your page bleed, and your page size. These are three of the most important factors to having a printable document that’s press quality.
Step Four: Design Your Planner!
And lastly, we’re finally ready to sit down and design your planner!
While there are tons of design “rules” that you could follow, the most important to take into account is:
- simple design is usually good design
- your user experience should trump your planner looking pretty
- and the most important, is to simply design what you like
The Best Way to Design Printable Planners
And that’s it you guys. Super simple review of the steps I take to designing planners that I know will sell. And as I mentioned before, if you’d like more specific details for each step, stay tuned for the next few weeks as I dive deeper into each topic and show you my exact process.
DESIGNING PLANNERS SERIES:
- Week One – How to Brainstorm & Research Your Next Planner Idea
- Week Two – How to Outline Your Planner Pages
- Week Three – How to Set Up Your Program Settings to Design a Quality Planner
- Week Four – Tips on How to Design a Quality Planner that Sells
Until then, if you’d like to learn more about how to actually sell your planners online, feel free to check out our free ebook – How to Successfully Sell Digital Products Online – where we’ll go over how to take the planners you’ve designed and turn them into passive income.
As always, thanks so much for stopping by!
Until next time.